Views: 0 Author: Site Editor Publish Time: 2026-07-25 Origin: Site
Apparel quotes often look appealing until the final production invoice arrives. Underestimated embroidery requirements usually drive this massive discrepancy. Scaling merchandise lines stalls when buyers ignore how design dimensions impact the bottom line. Stitch density and machine run-time exponentially increase production costs. A logo that looks simple on a screen can require thousands of hidden stitches to execute on fabric. Many buyers fail to account for the physical mechanics of thread application. They assume a small logo costs the same regardless of how much solid color it contains. This oversight leads to blown budgets and delayed product launches. We built this technical evaluation guide for merchandise managers and brand owners. You will learn to accurately forecast, audit, and optimize embroidery costs for custom apparel production. By understanding the relationship between digitizing, machine time, and fabric behavior, you can engineer your designs for maximum impact and efficiency.
Base Stitch Thresholds: Most commercial embroidery pricing includes a base limit (typically 8,000 to 10,000 stitches); exceeding this incurs incremental costs per 1,000 stitches.
Size vs. Density: A design's physical footprint is only half the equation; solid color fills require significantly more stitches than open, outlined designs of the exact same size.
Fabric Impact: Garment thickness dictates digitizing complexity; heavyweight materials require specific underlay stitches that marginally increase total stitch count.
Cost Optimization: Strategic logo simplification and placement adjustments can reduce stitch counts by 20-40% without compromising brand integrity.
Stitch count serves as the primary currency of embroidery pricing. Every single needle drop counts toward the final total. This metric directly correlates to machine run-time and thread consumption. Commercial facilities calculate their operational overhead based on how long a garment occupies a machine head. When you order Custom Hoodies, the facility must allocate specific machine time for your run. If your design takes forty minutes to sew instead of ten, the facility loses the opportunity to run other jobs. They pass this lost opportunity cost directly to you through stitch count pricing.
Most industry-standard pricing models utilize a base stitch count threshold. The initial setup and the first 8,000 to 10,000 stitches usually fall under a flat application fee. This covers standard left-chest logos and simple typography. Designs staying under this limit benefit from predictable, streamlined unit economics. Facilities prefer these smaller designs because they can turn over machine heads rapidly. You get a lower rate, and they get higher throughput.
Incremental pricing structures activate once a design exceeds the base threshold. Vendors charge a flat rate for every additional 1,000 stitches. This overage fee accounts for the extra time the garment spends on the machine. At high volumes, these incremental costs drastically alter your profit margins. A design that runs 5,000 stitches over the base limit will incur five separate overage charges per garment. Multiply that by a thousand units, and your production budget inflates rapidly.
Understanding the machine run-time equation clarifies these costs. Commercial embroidery machines operate at speeds between 600 and 1,000 stitches per minute. High-stitch-count designs force machines to run longer per unit. This directly increases shop overhead, labor hours, and mechanical wear-and-tear. A machine running a 60,000-stitch full-back design might only complete one garment per hour. The facility must charge enough for that single garment to cover an hour of electricity, operator wages, and machine depreciation.
Digitizing fees represent the hidden setup cost of embroidery. You must convert standard vector art into specialized machine files like DST or EMB. This process requires manual software engineering to map stitch paths and angles. Complex designs demand more expensive, intensive digitizing work before production even begins. The digitizing process generally follows these steps:
Importing the flat vector file into digitizing software.
Assigning stitch types (satin, fill, or run) to specific design elements.
Mapping the exact path the needle will take to minimize jump stitches.
Programming underlay stitches to stabilize the fabric.
Adjusting push and pull compensation based on the target garment material.
Exporting the final machine-readable file for production testing.
Design placement dramatically influences your final stitch count. A standard 3.5-inch left chest logo typically requires 5,000 to 10,000 stitches. Moving that same concept to a 10-inch full back placement changes the math entirely. Large back pieces easily demand 50,000 to over 100,000 stitches. This massive jump in density multiplies the application cost. You cannot simply scale a vector file up by 300% and expect the stitch count to scale linearly. As the area of a shape increases, the number of stitches required to fill that area increases exponentially.
| Placement Location | Average Dimensions | Estimated Stitch Count | Machine Run-Time Impact |
|---|---|---|---|
| Left Chest | 3.5 inches wide | 5,000 - 10,000 | Low (5-10 minutes) |
| Sleeve / Cuff | 2.0 inches wide | 2,000 - 5,000 | Very Low (2-5 minutes) |
| Center Chest | 6.0 inches wide | 15,000 - 30,000 | Medium (15-30 minutes) |
| Full Back | 10.0 to 12.0 inches wide | 50,000 - 100,000+ | High (50-100+ minutes) |
| Hood Edge | 4.0 inches wide | 4,000 - 8,000 | Low (5-8 minutes) |
Physical dimensions only tell half the story. Density variables dictate the actual thread usage. Solid, block-color fill stitches require dense, overlapping needle drops. In contrast, minimalist satin outlines cover the exact same footprint with a fraction of the stitches. Converting solid shapes to line art drastically cuts production expenses. A solid circle might require 8,000 stitches to fill completely. If you convert that same circle to a 2mm thick outline, the stitch count drops to 1,500. You maintain the exact same physical footprint on the garment while slashing the production time.
Thread breaks and color stops introduce hidden labor costs. Multi-colored designs require frequent thread changes and jump stitches. Automatic machine trims slow down the overall run-time. Even if the total stitch count remains moderate, excessive color changes add significant labor overhead. Every time the machine switches from red thread to blue thread, it must tie off the red, trim it, move to the new position, and start the blue. This mechanical process takes seconds, but those seconds add up over a run of five hundred garments.
Text and typography introduce strict physical constraints. Embroidered text requires a minimum height of 0.25 inches to remain legible. Small, intricate lettering demands specialized needles and higher stitch density. Pushing text below this threshold results in unreadable, messy thread clumps. When you try to embroider tiny serif fonts, the needle drops are so close together that they punch a hole straight through the fabric. You must use clean, sans-serif fonts and maintain proper sizing to ensure clean execution.
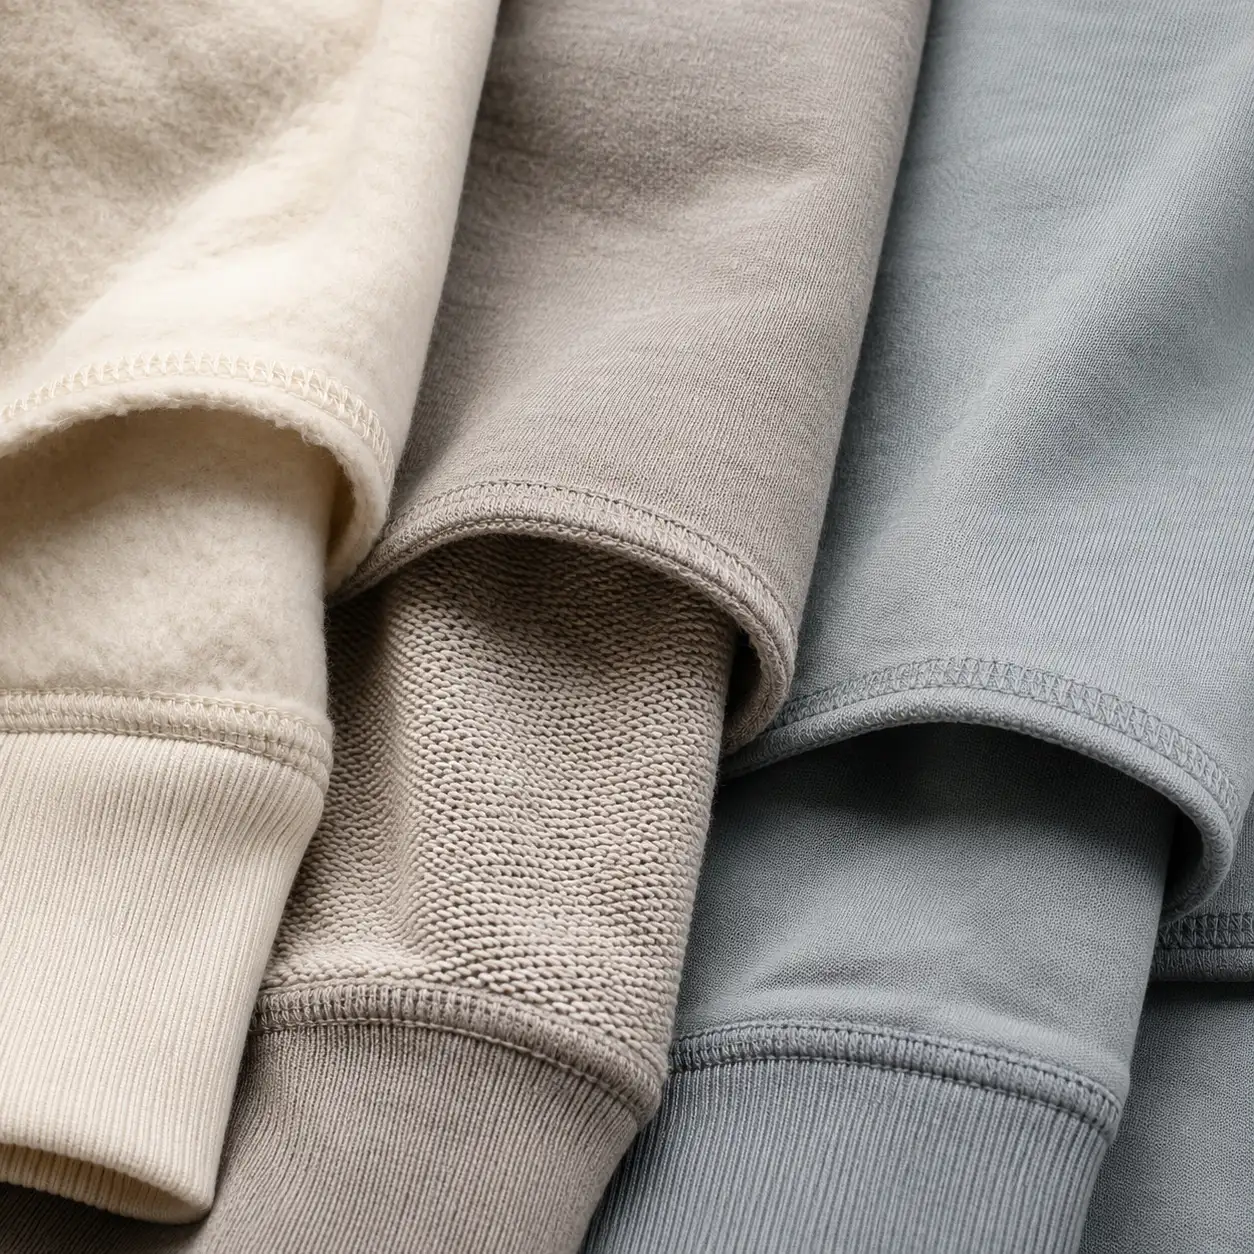
Fabric characteristics directly alter how a digitizer programs a design file. Thick fleece and heavy cotton blends stretch during the embroidery process. Digitizers must add push/pull compensation stitches to prevent the final design from distorting. This technical adjustment ensures circles remain perfectly round on flexible materials. When the needle penetrates the fabric, it pulls the material inward. The digitizer must program the file to sew slightly wider than the actual design to compensate for this physical pull.
Heavyweight Hoodies require a robust foundation of underlay stitches. Without this base layer, top threads sink into the deep fabric pile. Underlay stitching creates a smooth surface for the visible design. However, this necessary structural foundation inherently raises the total stitch count. You cannot skip the underlay on a 500GSM fleece. If you do, the embroidery will look jagged, and the fabric will show through the thread. The underlay acts like a primer coat of paint, sealing the fabric surface before the final colors go down.
Physical preparation also impacts baseline operational costs. Hooping thick garments takes considerably more manual labor than thin t-shirts. Operators often require specialized magnetic hoops to secure heavy fleece properly. This increased physical effort influences the shop's baseline labor rate for thick apparel. Forcing a thick, double-lined hood into a standard plastic hoop causes hand fatigue and slows down the loading process. Facilities account for this slower loading time when quoting heavy fleece projects.
Stabilizer and backing materials add another layer of required setup. Thick garments necessitate heavy-duty cut-away stabilizers to prevent the fabric from warping under dense stitching. This mandatory material cost is always factored into the vendor's baseline pricing structure. Tear-away stabilizers work fine for stiff jackets, but stretchy fleece requires a permanent cut-away backing. This backing remains inside the garment permanently, holding the stitches in place through years of washing and wearing.
Embroidery offers a tactile, premium finish that flat printing cannot replicate. This perceived value easily justifies higher retail price points. Consumers associate dense, clean embroidery with high-quality construction. Utilizing embroidery for Private Label Hoodies elevates the brand's market positioning. When a customer runs their hand over a raised, satin-stitched logo, they immediately perceive the garment as a premium product. This tactile feedback allows brands to command higher margins compared to standard printed merchandise.
Comparing embroidery to screen printing at scale reveals distinct economic curves. Screen printing becomes exponentially cheaper at high volumes due to shared setup costs. Embroidery maintains a relatively linear cost curve. The machine time required per unit remains static whether you order fifty or five hundred pieces. You do not get massive volume discounts on embroidery because the physical time it takes to sew the logo never decreases. A 10,000-stitch logo takes ten minutes to sew on unit number one, and it takes ten minutes to sew on unit number one thousand.
Batch sizes drastically impact setup cost amortization. Small runs of 12 to 24 units force digitizing and setup fees to heavily inflate the cost per unit. Large production runs exceeding 100 units spread these fixed overheads efficiently. Maximizing order volume minimizes the sting of initial digitizing fees. If you pay a flat fee for digitizing, spreading that fee over a larger number of garments makes the per-unit cost negligible. This is why sampling is expensive, but bulk production becomes manageable.
You must weigh upfront costs against product longevity. High-stitch-count embroidery provides exceptional durability. It resists fading, cracking, and peeling over hundreds of wash cycles. This extended lifecycle reinforces brand quality long after the initial purchase. Screen prints eventually crack and fade, especially if washed in hot water or dried on high heat. Polyester embroidery thread withstands bleach, boiling water, and heavy abrasion without losing its color or structural integrity.
Strategic logo simplification serves as your best defense against bloated costs. Modify your brand assets specifically for thread application. Remove unnecessary background fills entirely. Utilize the garment's natural color as negative space. Drop secondary taglines that require dense, tiny lettering. If your logo features a solid black square with white text inside, remove the black square. Let the black fabric of the garment serve as the background, and only embroider the white text. This simple change can eliminate 15,000 stitches instantly.
Optimizing placement naturally restricts design size. Target cost-effective locations like cuffs, hood edges, or the standard left chest. These areas physically limit how large a design can be. Keeping dimensions small ensures your stitch count stays safely below the base pricing threshold. A logo on a wrist cuff cannot physically exceed two inches in width. By choosing this placement, you guarantee a low stitch count and a fast machine run-time.
| Design Element | High-Cost Approach | Optimized Approach |
|---|---|---|
| Backgrounds | Solid thread fill behind the logo | Use garment fabric as negative space |
| Typography | Tiny, dense serif fonts | Clean, bold sans-serif fonts over 0.25" |
| Color Palette | 12+ colors with frequent changes | 1-3 colors with continuous stitch paths |
| Borders | Thick, multi-layered satin borders | Single run-stitch outline or no border |
Evaluate different pricing agreements based on your art. Negotiate a flat-rate pricing agreement for simplified, high-volume production runs. This provides predictable unit economics. Reserve strict stitch-count-per-thousand pricing for highly complex, multi-colored designs where flat rates are unavailable. Some facilities offer flat rates for anything under 12,000 stitches. If your design is 11,500 stitches, a flat rate works in your favor. If your design is only 3,000 stitches, a strict stitch-count rate might actually be cheaper.
Leverage volume economics to your advantage. Ordering in larger batches allows vendors to run multi-head machines at full capacity. Consistent machine utilization reduces shop downtime. This efficiency often results in negotiated discounts on the per-1,000-stitch overage rate. When a facility can load a 15-head machine and let it run for hours without changing thread colors or re-hooping different styles, their profit margins increase. They are often willing to share that efficiency with you through lower overage rates.
Applying dense designs to improper fabrics causes severe puckering. A high-stitch-count design acts like a heavy chest plate on lightweight materials. This distortion renders the garment unwearable. The fabric around the embroidery will wrinkle and pull inward, creating a permanent ripple effect that no amount of ironing can fix.
Match design density strictly to fabric weight.
Mandate pre-production strike-offs to verify fabric stability.
Reduce fill stitches if puckering occurs during sampling.
Ensure the facility uses the correct weight of cut-away stabilizer.
Budgeting based on visual mockups leads to inaccurate initial quotes. A flat digital image hides the true density required for thread application. This oversight destroys production budgets. A graphic designer might create a beautiful gradient effect in Illustrator, but translating that gradient into thread requires thousands of overlapping stitches.
Always request a digitized stitch count estimate before finalizing purchase orders.
Never assume a flat vector file translates 1:1 to thread count.
Ask the digitizer to provide a software screenshot showing the exact stitch count.
Embroidering over heavy seams causes registration errors. Kangaroo pockets and thick zipper seams deflect needles during production. This technical difficulty drastically increases the defect rate. When a needle hits a thick seam, it bends slightly. This deflection causes the next stitch to land out of place, ruining the alignment of the entire design.
Keep designs at least 1 inch away from major seams.
Avoid placing intricate text near pocket edges.
Designate flat, uninterrupted fabric panels for complex art.
Test zipper placements with a physical sample before bulk production.
Embroidery cost is never dictated by a single variable. It relies entirely on the intersection of physical size, design density, and garment thickness. Understanding how machine run-time and stitch counts interact gives you total control over production budgets. You can engineer your apparel designs to maximize perceived value while minimizing unnecessary machine time. Evaluate production partners based on their operational transparency. Look for clear communication regarding base stitch thresholds and overage rates. Prioritize vendors who offer upfront digitizing consultations. A reliable partner will actively help you scale rates efficiently across different production volumes.
Audit your current logo files to identify areas for simplification and negative space utilization.
Request a formal digitized stitch count estimate before committing to any bulk production run.
Order physical strike-off samples to verify underlay stability on heavyweight garments.
Adjust your design placements to target smaller, cost-effective areas like cuffs or hoods.
A: A standard left chest logo typically measures between 3 and 4 inches wide. Depending on the fill density and text complexity, this size range yields roughly 5,000 to 10,000 stitches. Open outlines fall on the lower end, while solid block colors push toward the maximum.
A: The industry average for incremental overage ranges depending on facility location and order volume. Vendors charge a flat fee per 1,000 stitches once a design exceeds the base threshold. High-volume orders often secure negotiated discounts on this specific overage rate.
A: Low-minimum runs usually carry flat-rate setup and application fees. This structure covers the baseline labor, hooping, and digitizing overhead required to run a machine. As order volumes increase into bulk territory, pricing typically shifts to a strict stitch-count-based model.
A: Unlike screen printing, most commercial embroiderers do not charge per color up to a certain limit. Modern multi-needle machines hold multiple spools simultaneously. However, excessive color changes require machine trims and jump stitches, which slows down run-time and increases labor costs.
A: Digitizing requires manual software engineering. A technician must map exact stitch paths, set needle angles, program push/pull compensation, and build underlay foundations. This specialized, one-time labor converts flat vector art into a readable machine file.
A: Yes, it is entirely feasible. However, full-back designs require massive stitch counts, often exceeding 50,000 stitches. This drastically increases application costs and can create a stiff, heavy patch of thread on the back of the garment.
A: Convert solid filled areas into satin outlines. Utilize the garment's natural fabric color as negative space to replace background fills. Eliminate unnecessary secondary text or intricate borders that require dense stitching to remain visible.


